
- Yes, the Switch 2 can drift. Its sticks rub and wear out over time, just like the old ones did.
- Nintendo could have used a no-touch stick that never wears out. It skipped it because the new magnetic clip-on design would confuse those sensors.
- Recalibrating only fixes a small software glitch. If the stick is truly worn, you need a warranty repair or a special no-wear replacement stick.
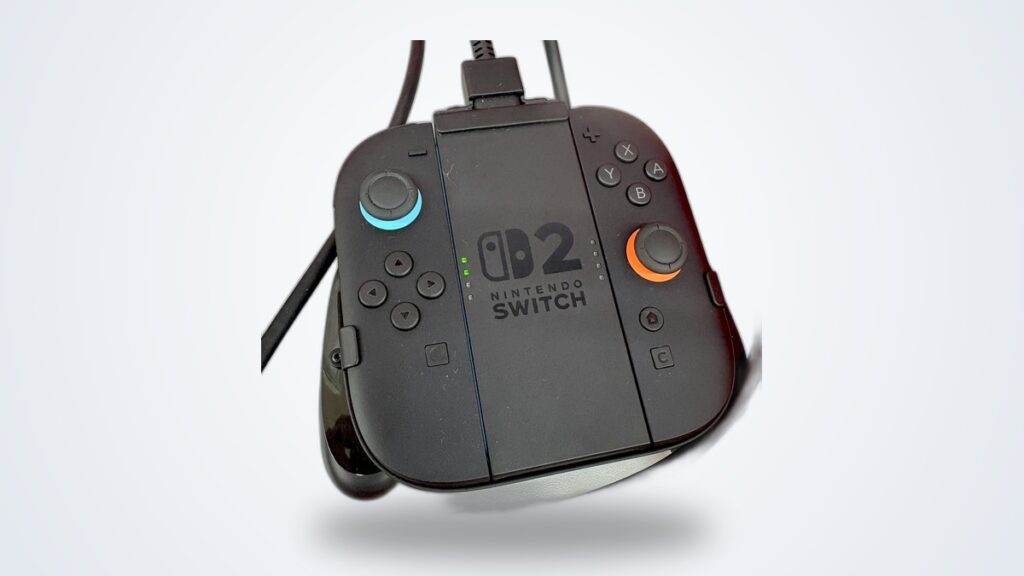
Yes, the Nintendo Switch 2 can get stick drift. It is already happening to some players. And here is the slightly annoying part. Nintendo gave the controller a fresh new look, but kept the same old joystick parts inside. The new Joy-Con 2 feels nicer and is built better. But the stick still rubs and wears down with use. A drift-proof kind of stick already exists. Nintendo just chose not to use it. So if your character starts walking on its own, or your cursor slides while your thumb is off the stick, that is the start of Switch 2 Joy-Con drift. This guide explains why it happens, in plain words, and what you can actually do about it.
What Joy-Con Stick Drift Actually Is
Drift is when your controller moves on its own. The game thinks you are pushing the stick. But your thumb is not even on it. To see why this happens, you need to peek at the tiny part hiding under the thumbstick.
How the Graphite Wiper and Resistive Track Work
Under each stick sit two little parts called potentiometers. One reads up and down. The other reads left and right. A potentiometer sounds fancy, but it is simple. Picture a tiny arm, called a wiper, that slides along a curved strip as you tilt the stick. Where that arm sits changes how much electricity flows through. The console reads that and says, “Ah, the stick is pointing here.” It is a cheap, clever design that has been around for decades. In iFixit’s teardown, the stick is described as a “wiper that slides across a strip of resistive material.” That wiper is usually a small piece of graphite, the same soft gray stuff inside a pencil, riding along a printed track.
Why Physical Contact Wears the Stick Down
Here is the problem. The wiper touches the strip every single time you move the stick. And you move it thousands of times in one play session. Rub two things together that much, and they wear out. Slowly, a worn groove forms in the strip. Tiny bits of graphite dust break off too. Both of these mess with the readings. So the resting signal, the one that should mean “I am sitting in the middle,” slowly stops being clean and correct.
Think about how much abuse that little strip takes. A fast-paced shooter or platformer can have you flicking the stick several times a second for hours, and every one of those flicks drags the wiper across the same well-worn path. It is a bit like a footpath through grass: walk it once and nothing changes, but walk it ten thousand times and you carve a bare rut. The center and the most-used directions wear first, which is why drift so often shows up as your character creeping in one particular direction rather than randomly.
How a False Neutral Signal Creates Drift
The console expects one exact signal to mean “centered.” But once the part wears down, that resting signal shifts. Now it looks like you are pushing the stick, even when it is sitting still. That false “I am being pushed” signal is the drift you feel. It also explains why drift creeps in slowly instead of all at once. The wear builds up bit by bit. The resting signal wanders further and further from true center. One day it crosses the line, and the game starts treating it as a real move.
Why the Switch 2 Still Skips Hall-Effect Sticks
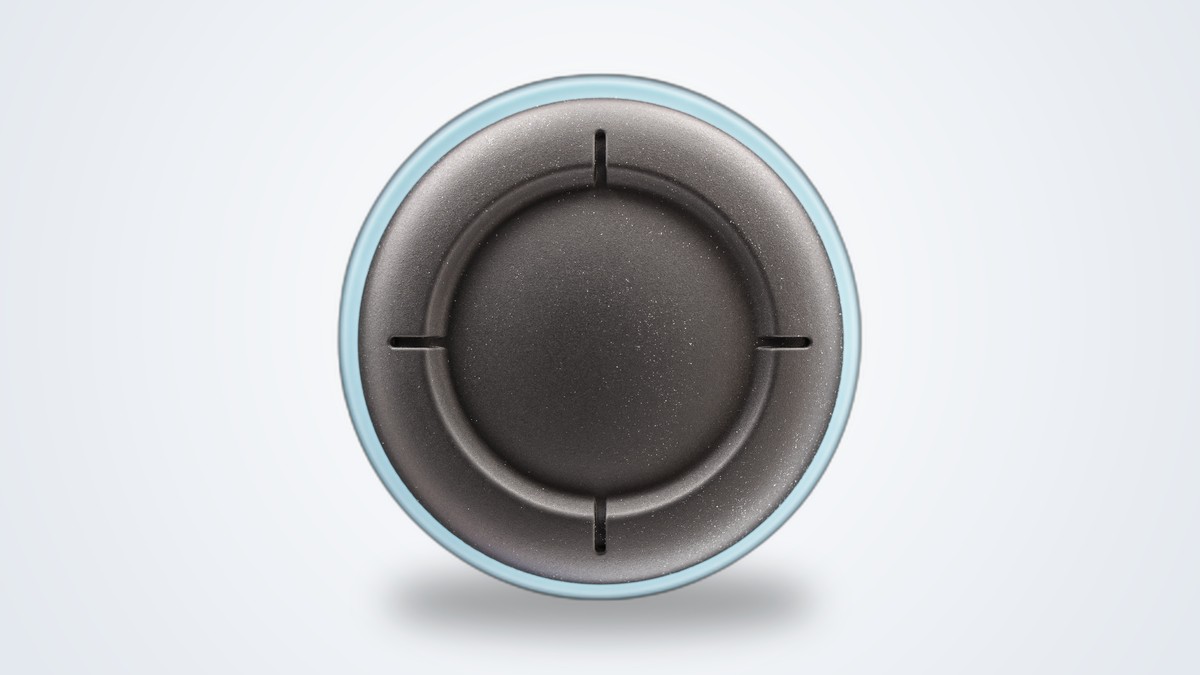
Here is the frustrating bit. A drift-proof stick has existed for years. It is called a Hall-effect stick. It uses a magnet and a sensor to read where the stick points, with no parts touching at all. Nothing rubs, so nothing wears out. Plenty of other controllers already use them. So why didn’t Nintendo?
How Magnetic Attachment Conflicts With Hall Sensors
The big new feature of the Joy-Con 2 is how it clicks on. The old controllers slid on with a rail. The new ones snap on with strong magnets. That feels great. But it causes a problem. A Hall-effect stick works by reading magnets. Put a strong magnet right next to it, and it gets confused. The big magnet drowns out the tiny signal it is trying to read. Nintendo confirmed in 2025 that this is exactly why it skipped Hall-effect sticks. The magnetic clip-on would mess them up. iFixit found the same thing in its teardown: “There’s no sign of Hall effect or TMR sensors. Instead, we’re getting more of the same.”
Nintendo was genuinely stuck here. It wanted the satisfying magnetic snap-on that defines how the Switch 2 feels in your hands, and that same magnetic attachment is fundamentally at odds with the cleanest drift-free stick technology. In other words, the headline feature and the drift fix were fighting each other. Faced with that trade-off, Nintendo chose the feel of the hardware over future-proofing the stick — a defensible call, but one that leaves the same old failure mode baked in.
Why Nintendo Passed on TMR Sensors Too
There is a newer option too, called TMR. It is also a no-touch, magnet-based stick. But it is much harder to fool with a nearby magnet. So in theory, TMR could have dodged the whole magnet problem. Nintendo skipped it anyway and stuck with the cheap, familiar old part. The funny thing? Other companies later proved TMR works just fine in this exact controller. We will come back to that.
Why pass on the obvious upgrade? The honest answer is almost certainly cost and caution. Potentiometer sticks are pennies-cheap, endlessly proven on factory lines, and easy to source in the tens of millions a console launch demands. TMR sensors are newer, pricier, and less battle-tested at that scale. Multiply even a small per-unit saving across a global launch and you are looking at real money — so the “boring” part won on the spreadsheet, even if it lost with players who remember the first Switch’s drift saga.
Potentiometer vs. Hall Effect vs. TMR Compared
| Sensor type | How it reads the stick | Physical contact? | Drift over time | In the Joy-Con 2? |
|---|---|---|---|---|
| Potentiometer | Graphite wiper slides on a resistive track | Yes | Wears and drifts with use | Yes |
| Hall effect | Magnetic sensor reads a moving magnet | No | Very resistant; can be disturbed by nearby magnets | No |
| TMR | Magnetoresistive sensor reads a moving magnet | No | Very resistant; better at ignoring stray magnetic fields | No |
Is Switch 2 Drift Better or Worse Than the Original?
This is what everyone wants to know. And the honest answer is that it is still early, and we do not have all the data yet. But here is what we can say for sure.
How Joy-Con 2 Build Quality Improved
Teardowns show the new sticks are built better than the early Switch ones. The contact pads are a little bigger, and the parts are made more precisely. Bigger, more careful parts should wear more evenly and last longer before drift shows up. There is another good sign too. The first drift complaints showed up much later in the Switch 2’s life than they did with the first Switch, which had drift trouble early and often. That is genuinely encouraging.
Why the Core Drift Mechanism Stayed the Same
But better parts do not change the basic problem. It is still a graphite arm rubbing on a strip. That means wear is not an “if,” it is a “when.” As iFixit put it, “the redesign didn’t include a revision to the core tech that causes joystick drift.” A tougher version of a wear-prone part is still a wear-prone part. It just takes longer. So here is the fair takeaway. So far, Switch 2 drift looks less common and slower to appear. But the root cause is still in there. Only years of use across millions of consoles will tell us how much the upgrades really helped.
How to Fix and Reduce Joy-Con 2 Drift
Is your stick already acting up? Work through these fixes in order. Start at the top, where the steps are easy, safe, and free. The ones near the bottom get more hands-on.
Recalibrate the Control Sticks in System Settings
Try this first. Recalibrating tells the console to re-learn where “center” and the edges are. That can wipe out a small drift glitch. Go to System Settings, then Controllers & Accessories, then Calibrate Control Sticks. Follow the prompts and tilt the stick all the way around. If it does not work right away, put the console to sleep and wake it back up, or press the SYNC button to reset the controller. Nintendo’s official controller calibration guide shows the exact steps. One thing to know: recalibrating cannot fix a worn-out part. So if the drift comes back fast, the problem is physical, and you should move on to the next steps.
Recalibration works by resetting the reference points the console uses for “center” and “full tilt.” When wear has nudged the resting signal slightly off true center, telling the system to relearn where center is can hide the error — for a while. That’s why calibration feels like a cure at first and then fails: the underlying signal keeps drifting further out as the part wears, and eventually it wanders past what any calibration can compensate for.
Update Your System and Controller Firmware
While you are in the settings, check for updates, both for the console and for the controller itself. Nintendo often slips small stick fixes into these updates. And an out-of-date controller can misread a perfectly healthy stick. It is a two-minute check. Sometimes it clears up mild drift on its own, and it makes sure calibration works the way it should.
Firmware matters more than people expect because the controller’s software sets the dead zone — the small area around center that the console deliberately ignores. A firmware tweak that widens that dead zone slightly can mask a tiny amount of drift entirely, which is why an update occasionally makes a mild problem vanish. It won’t rescue a badly worn stick, but it costs nothing and rules out the easiest possible cause before you start opening things up.
Clean Dust With Compressed Air Around the Stick
Sometimes the trouble is just dust or graphite bits on the contacts, not real wear. A careful clean can help. Tilt the stick all the way in one direction. This opens up a little gap at its base. Now give it a few short puffs of compressed air around the rim. Then recalibrate. Keep the can upright, use short bursts, and never jam anything into the gap. If the part is truly worn, this is only a short-term fix. But it is cheap, safe, and can buy you months.
The reason this works at all is that a lot of “early drift” isn’t wear yet — it’s a stray flake of graphite dust or pocket lint sitting on the resistive track and throwing off the reading. Blowing it clear lets the wiper make clean contact again, so the resting signal snaps back to true center. Some people add a tiny amount of electrical-contact cleaner on the same tilt-and-puff routine, but go easy: too much liquid can attract more dust or seep where it shouldn’t. Start with air alone, recalibrate, and only escalate if the drift returns within days.
Avoid Known Triggers That Accelerate Stick Wear
You cannot stop wear completely. But you can slow it down. Keep the console and controllers away from dust. Do not eat greasy snacks mid-game. Store the system somewhere clean. And do not let anything press on the sticks inside a bag. A lighter touch while you play helps too, since less force means less grinding. None of this is a cure. But every bit of dust and pressure you keep off the stick adds more time before drift sets in.
The single biggest controllable factor is grit. Dust and food crumbs are abrasive, so the cleaner you keep the environment around the sticks, the slower that resistive track wears. A simple hard case for travel and an occasional wipe-down of the stick bases go a surprisingly long way toward pushing the first signs of drift months, even years, down the road.
Use Nintendo’s Repair and Warranty Service Path
If the controller is truly broken, let Nintendo handle it. The Switch 2 comes with a 12-month warranty that covers defects. So if you are still in that window, a drift repair should be free. And Nintendo’s repair system does list Joy-Con 2 drift as something it will fix. Two things to keep in mind. First, the warranty usually does not cover damage from drops, spills, mods, or third-party add-ons. Second, the rules genuinely change from country to country — and in some places they are better than the warranty. In the UK, Nintendo has kept its free Joy-Con drift repair policy running since 2023, in or out of warranty, and it now covers the Joy-Con 2 as well (as long as the fault isn’t from third-party accessories, modification, or impact damage), per Nintendo UK’s Joy-Con repair page. In the US, Nintendo has not announced an equivalent blanket out-of-warranty program for the Switch 2 yet. So check Nintendo’s support page for your region before you assume anything — you may be pleasantly surprised.
Install Third-Party TMR Replacement Sticks
This is the long-term fix iFixit hinted at when it said “the best fix is going to come from third-party replacements.” Some companies, like GuliKit, now sell TMR replacement sticks for the Joy-Con 2 cheaply. These use the no-touch, magnet-based design that does not wear out. Funny enough, the fact that they work proves the magnet problem could have been solved all along. The catch is putting them in. Opening a Joy-Con 2 is fiddly. A glued plastic rib hides the screws, and reaching the stick can mean taking apart nearly the whole controller. It is a real fix, but one for a confident DIY repairer or a trusted repair shop. And doing it yourself will likely void your warranty.
Weigh the trade-off honestly. A TMR swap is the only option on this list that actually removes the root cause instead of delaying it — you end up with a stick that genuinely won’t wear out the same way. But you pay for that with risk: tiny ribbon cables tear easily, and one slip can turn a cheap fix into a dead controller. If you’re comfortable with delicate electronics repair and have the right screwdrivers, it’s the best value going. If not, a repair shop that already stocks the parts is money well spent. This is the same “is it worth opening up myself?” calculation handheld owners face when a Steam Deck won’t turn on — sometimes the confident fix is a professional one.
Frequently Asked Questions
Does the Nintendo Switch 2 have Joy-Con drift?
Yes. It has already happened to real players, and some units have ended up in repair shops. The Joy-Con 2 uses the same wear-prone stick design as the first Switch, so drift can happen. The good news is that it seems less common so far than it was on the original Switch. The bad news is that Nintendo did not fix the root cause.
Why didn’t Nintendo use Hall effect sticks in the Switch 2?
Because the Joy-Con 2 clip onto the console with strong magnets. Hall-effect sticks read magnets to work, so a strong magnet right next to them throws off the reading. Nintendo confirmed it kept the old stick to avoid that problem. It also passed on TMR, a newer stick that handles stray magnets much better.
Can recalibrating fix Switch 2 stick drift?
Sometimes. Recalibrating in System Settings can fix a small software glitch, and it is the first thing to try. But it cannot repair a worn-out part. So if the drift keeps coming back, the damage is physical, and recalibrating is only a quick patch.
Will Nintendo repair Joy-Con 2 drift for free?
The Switch 2 has a 12-month warranty that covers defects, so an in-warranty drift repair should be free. Beyond that, it depends on your country. In the UK, Nintendo’s long-running free Joy-Con drift repair policy applies in or out of warranty and now covers the Joy-Con 2 (excluding damage from mods, third-party accessories, or impacts). In the US, no equivalent blanket out-of-warranty program has been announced for the Switch 2 yet, so check your local Nintendo support page.
Are there Hall-effect or TMR replacement sticks for the Joy-Con 2?
Yes. Companies like GuliKit sell TMR replacement sticks for the Joy-Con 2 cheaply. They use a no-touch design that does not wear out. But putting them in is fiddly, can damage the controller if you rush, and usually voids your warranty.
Does compressed air actually fix Joy-Con drift?
It can, but only when the drift comes from dust or graphite bits on the contacts, not from real wear. Tilt the stick, give it a few short puffs around the base, then recalibrate. If the part is actually worn down, the air only helps for a little while before the drift comes back.
About the Author
Elena Brooks
Elena Brooks is the person her group chat texts when something at home stops working or a health trend starts trending. She’s spent years turning that instinct into a job — digging into the research behind everyday questions, calling the experts, and writing up what holds up and what doesn’t. Her beat is wherever curiosity points: kitchens, cars, pets, sleep, money, and the occasional meteor shower.