
- The smartest move in how to clean an oven is to match the method to the mess: wipe light film with soapy water, soak moderate grease with a baking-soda paste, and save the heavy tools for heavy crust.
- A baking soda and water paste, left overnight and scrubbed off the next day, is the safest deep clean there is. It works on every oven and cannot damage anything.
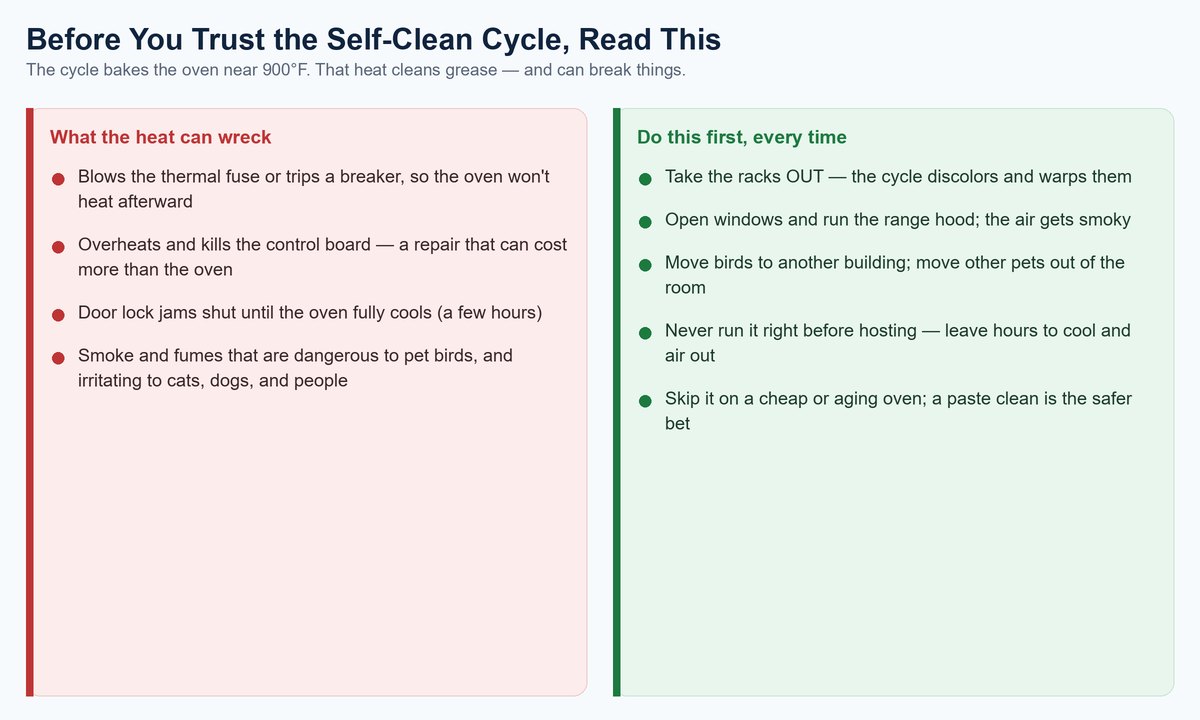
- The self-clean cycle bakes the oven near 900°F to burn residue into ash. That same heat can blow the thermal fuse or fry the control board, and a repair often costs more than the feature ever saved you.
- Self-clean fumes can kill a pet bird fast and bother cats, dogs, and people. Take the racks out, open windows, and move birds to another building before you ever start it.
- Commercial oven sprays are strong lye-based cleaners. They work on stubborn crust, but only with gloves, open windows, and the racks pulled out. Skip them if anyone in the house has breathing trouble.
- Clean the racks in a bathtub soak and the door glass with a baking-soda paste. They are separate jobs, and doing them apart is faster than fighting them inside the oven.
You open the oven door, and there it is. Black, crusty, baked-on grime coating the bottom. A smell of old smoke every time you preheat. Maybe a little puff of haze when something drips and burns. You want it gone, and you want to know how to clean an oven the easy way.
Here is the honest secret that most cleaning blogs skip: there is no single best way. The right method depends on two things. How bad the mess is, and what kind of oven you own. A light greasy film wipes away in two minutes. A thick carbonized crust needs an overnight soak. And the one trick the internet loves most, the self-clean cycle, is also the one most likely to break your oven and send fumes through your house.
So this is not a “here’s my one magic recipe” guide. It is a menu. We will walk through the safe baking-soda deep clean, the self-clean cycle and its real risks, when a store-bought spray is worth it, and how to handle the racks and the door glass on their own. By the end you will know exactly which method to reach for, and, just as important, which one to skip.
Match the Cleaning Method to How Bad the Mess Is
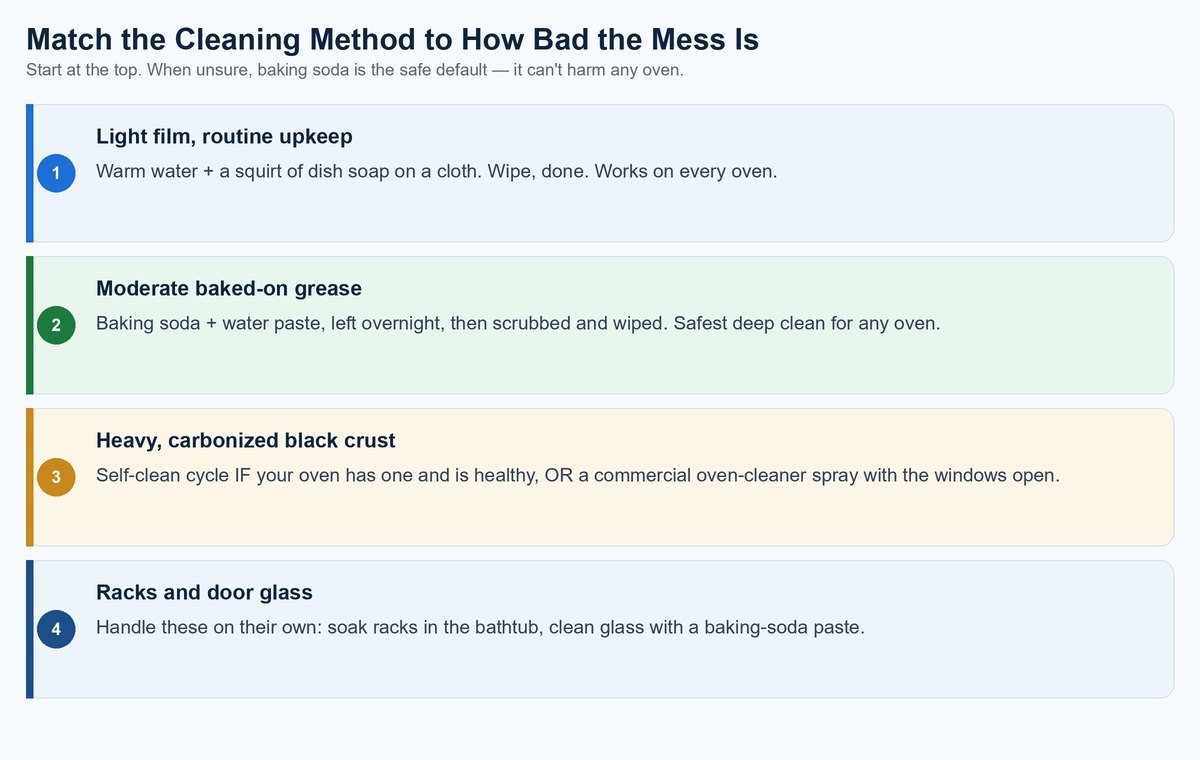
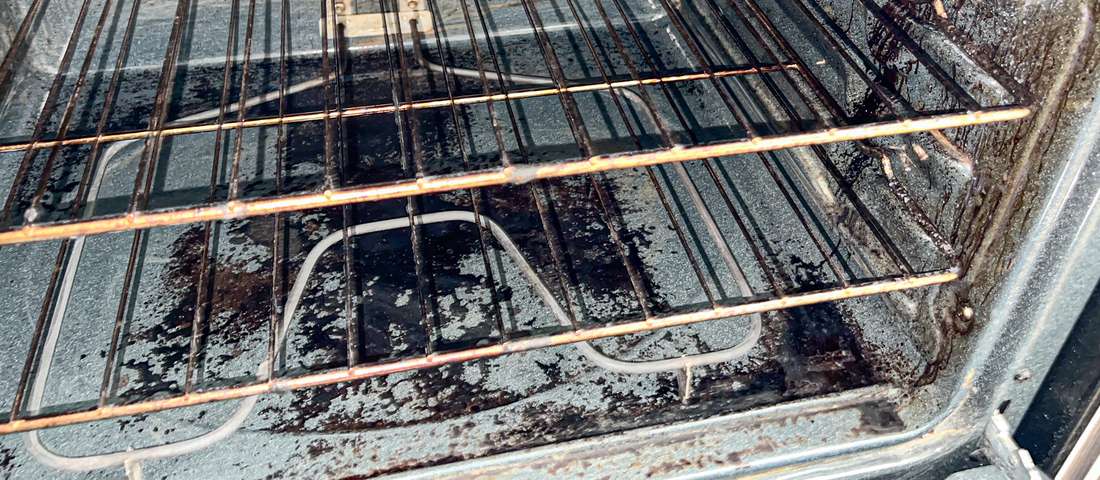
Before you grab anything, take ten seconds to look at your oven and ask one question: how baked-on is this? That answer, plus whether your oven even has a self-clean button, decides everything. Pick the wrong method and you either waste an afternoon on a two-minute job, or you unleash 900-degree heat on a mess that a damp cloth would have handled.
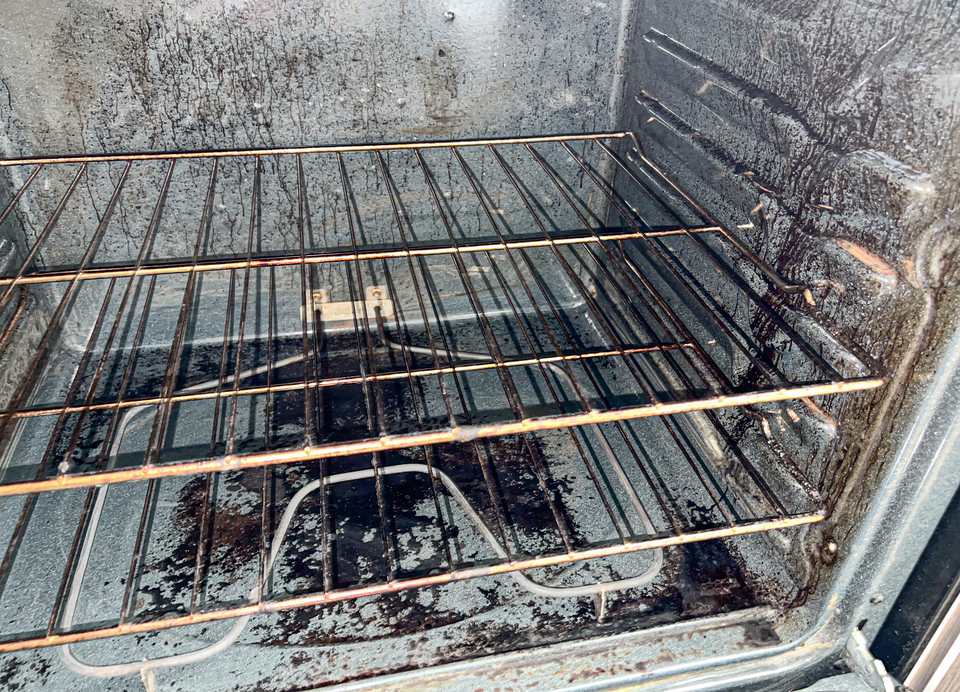
Think of oven grime in three levels. Level one is a light, greasy film with maybe a few fresh drips, the kind you get after a month of normal cooking. Level two is moderate, brown-to-black baked-on grease that has been building for a while and does not wipe off. Level three is the nightmare: thick, carbonized, shiny-black crust that has basically turned to charcoal. Each level has a method that fits it, and reaching past that level just adds risk and effort for no extra payoff.
Here is the thing to remember above all else. When you are not sure, start with baking soda. It is the one method that cannot harm any oven, any finish, or any person in the room. You can always escalate to something stronger if the paste does not fully win. You cannot un-blow a thermal fuse.
The Baking Soda and Vinegar Method Is the Safest Deep Clean
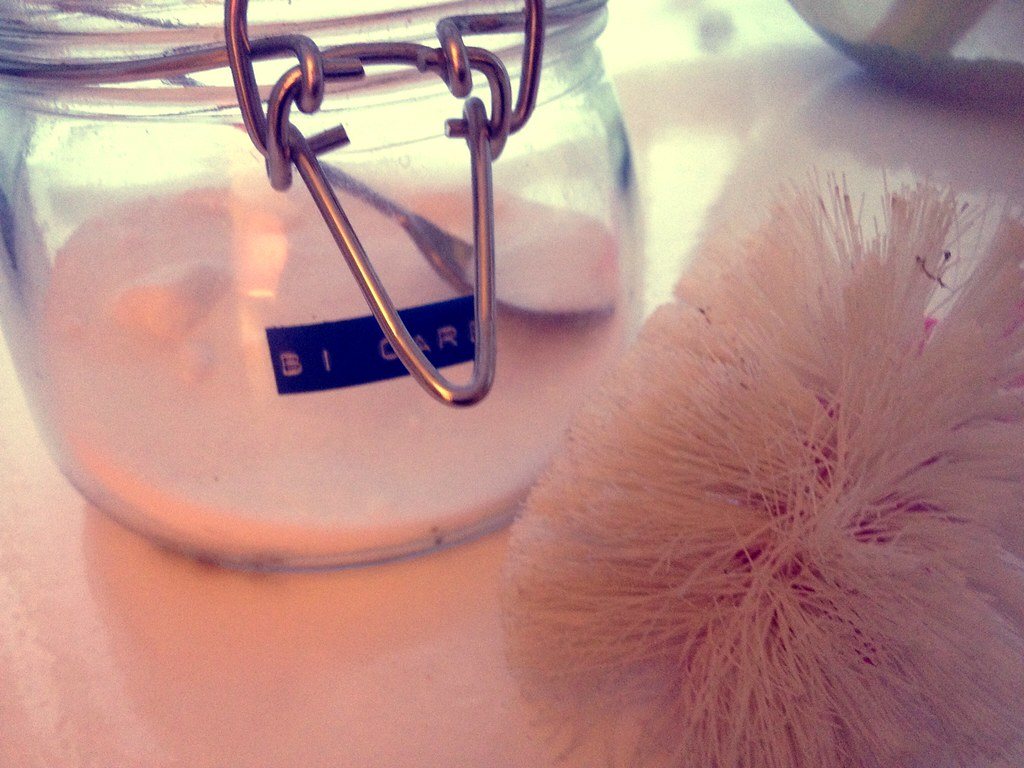
If you only ever learn one way to deep clean, learn this one. Baking soda is a mild, gritty base that is gentle enough to eat off of, yet it lifts grease and gives you just enough scrubbing texture to break a baked-on layer without scratching. Pair it with a little vinegar at the end and you get a satisfying fizz that helps float the loosened gunk away. It is cheap, it is safe around kids and pets, and it works on gas and electric ovens alike. The only thing it asks of you is patience, because the real work happens overnight while you sleep.
The reason this method beats a quick scrub is chemistry plus time. Baked-on grease is not just sitting on the surface; it has bonded to it under heat. A paste that stays wet against that grime for eight to twelve hours slowly softens the bond, so the next morning the crust wipes off in sheets instead of fighting you fleck by fleck. Rushing it is the number-one reason people say “baking soda did not work for me.” It works. It just needs the clock.
Step 1: Empty the Oven and Pull the Racks Out
Take everything out, including the racks, the pizza stone, and any thermometer hanging inside. The racks get cleaned separately (their own section is below), and an empty oven gives your hands room to reach every corner. Lay down an old towel or some newspaper in front of the oven to catch drips, because this is a messy job and future-you will be grateful.
Step 2: Mix a Spreadable Baking Soda Paste
In a bowl, stir about half a cup of baking soda with two to three tablespoons of water, a little at a time, until you get a paste roughly the texture of toothpaste or shaving cream. If it is runny, add more powder; if it is crumbly, add a few drops of water. You want it thick enough to cling to the vertical walls and the ceiling of the oven without sliding straight off.
Step 3: Spread the Paste Over Every Greasy Surface
Put on a pair of rubber gloves and smear the paste all over the inside: the bottom, the back wall, the sides, and the ceiling. Go thicker on the worst baked-on spots. Deliberately avoid the heating elements (the exposed metal bars or coils) and the little vent openings, since paste baked onto an element just smokes the next time you cook. The oven will look like a science-fair volcano. That is exactly right.
Step 4: Let It Sit Overnight, or at Least Six Hours
Close the door and walk away. Twelve hours is ideal; six is the honest minimum for a real deep clean. This waiting is the whole method, so do not shortcut it. Start it in the evening and the paste does its quiet work while you sleep, turning tomorrow’s scrubbing into tomorrow’s wiping.
Step 5: Wipe Away the Paste and Loosened Grime
The next day, take a damp cloth or a plastic scraper and wipe out the now-dry, grimy paste. Most of it will come away carrying the grease with it. For stubborn corners, a wet scrub sponge or an old toothbrush gets into the seams. Keep rinsing your cloth in warm water and going back over it until the powder is gone.
Step 6: Spritz Vinegar to Fizz Away the Last Residue
Fill a spray bottle with white vinegar and mist any spots where baking soda film remains. You will see it fizz as the acid meets the leftover base. This reaction loosens the last clingy residue and neutralizes it. Give it one final wipe with a clean, damp cloth, leave the door open to air-dry, and you are done. Your oven is clean, and nothing in your house was put at any risk.
How the Self-Clean Cycle Works and Where It Can Bite You
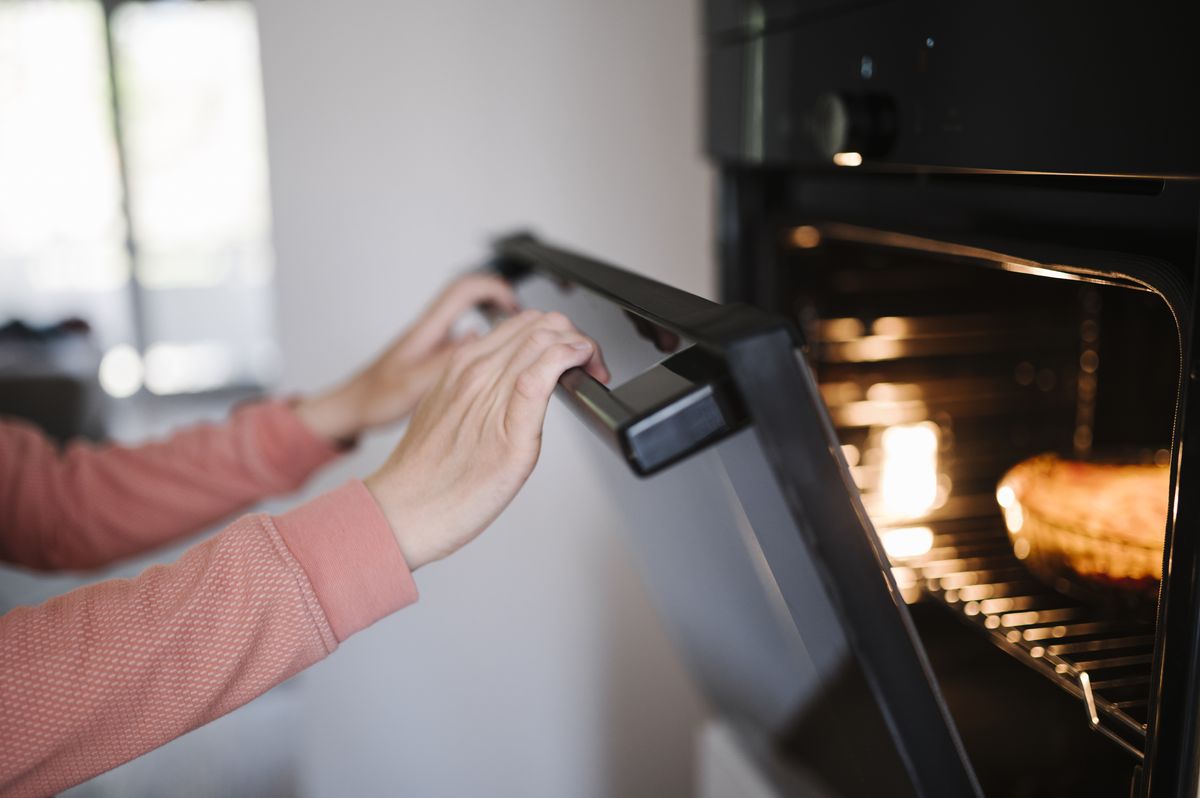
Almost every oven built in the last twenty years has a self-clean button, and on paper it sounds perfect: press it, walk away, come back to a clean oven with zero scrubbing. It really can do that. But it is also the single riskiest way to clean an oven, and understanding why turns you from someone who gambles with it into someone who uses it wisely, or decides to skip it on purpose.
Here is what actually happens when you press that button. The oven locks its own door and heats to somewhere between 800 and 1,000°F, far hotter than any recipe, and holds that furnace temperature for two to four hours. At that heat, every speck of grease and food residue is literally incinerated, burned down to a light gray ash you sweep out with a damp cloth afterward. This high-heat method is called pyrolytic cleaning, and you can read the full pyrolytic breakdown on Wikipedia if you want the science. No chemicals, no scrubbing. So far, so good.
The problem is that same brutal heat does not only cook the grime. It cooks your oven’s own parts. The most common casualty is the thermal fuse, a small safety part that cuts the power if the oven ever gets too hot, and a self-clean cycle pushes right up against its limit. Blow it and your oven goes dead until it is replaced. The pricier casualty is the electronic control board, which can quietly fry from the sustained heat soak. Appliance technicians see this so often that many now quietly advise against self-clean on modern electronic ranges, and the repair guidance from RepairClinic on the oven cleaning feature walks through exactly these failures. The cruel joke is that a “free” cleaning feature can hand you a repair bill bigger than a professional deep clean would have cost.
There is also a design trap in newer ovens. To look sleek, many now hide the bottom heating element under the oven floor instead of leaving it exposed. That looks nice, but it makes the oven much worse at venting the self-clean heat, so more of that extreme temperature gets trapped near the very fuses and boards that hate it. If your oven is a modern hidden-element model, the self-clean cycle is working against its own design, which is one more reason to lean on the baking-soda method instead.
Why the Most-Recommended Trick Is Not Always the Safe One
Step back and notice something strange. The self-clean cycle is the feature manufacturers advertise hardest and the one most guides recommend first, yet it is the method with the highest chance of breaking your appliance or hurting the living things in your kitchen. That gap between “most promoted” and “actually safest” is the real lesson of this whole guide, and it deserves a section of its own.
The scariest risk is not the repair bill; it is the fumes. When residue burns off at 900 degrees, it releases smoke and gases, and if your oven has any nonstick (PTFE) coating on parts or trays, those release fumes that are dangerous to birds. Birds breathe differently from us: air flows through their lungs and a set of air sacs in a continuous loop, which makes them incredibly efficient flyers and incredibly vulnerable to airborne poisons. The Environmental Working Group’s Canaries in the Kitchen report documents how quickly overheated nonstick fumes kill pet birds, sometimes within minutes. Even a level of smoke that only makes a person cough can be fatal to a parakeet in the next room.
So who should actually use self-clean? If you own a sturdy, older oven with an exposed bottom element, no pet birds, good ventilation, and a genuinely brutal carbonized mess, running the cycle once every few months is reasonable. Doing it monthly or weekly just wears the parts out faster for no reason. But if your oven is a modern electronics-heavy model, or you have birds, or the mess is only moderate, the math flips hard toward the baking-soda paste. It is slower, but it never blows a fuse and never fills your home with smoke.
A quick word on “steam clean,” the gentler cousin some ovens offer. You pour water in the bottom, run a low-heat cycle, and the steam loosens light grime. It is genuinely safe, no 900-degree drama, but it only handles light messes. Treat it like a helper for regular upkeep, not a fix for baked-on crust. For anything serious, steam alone will disappoint you, and you will end up scrubbing anyway.
When a Commercial Oven Cleaner Is Actually Worth It
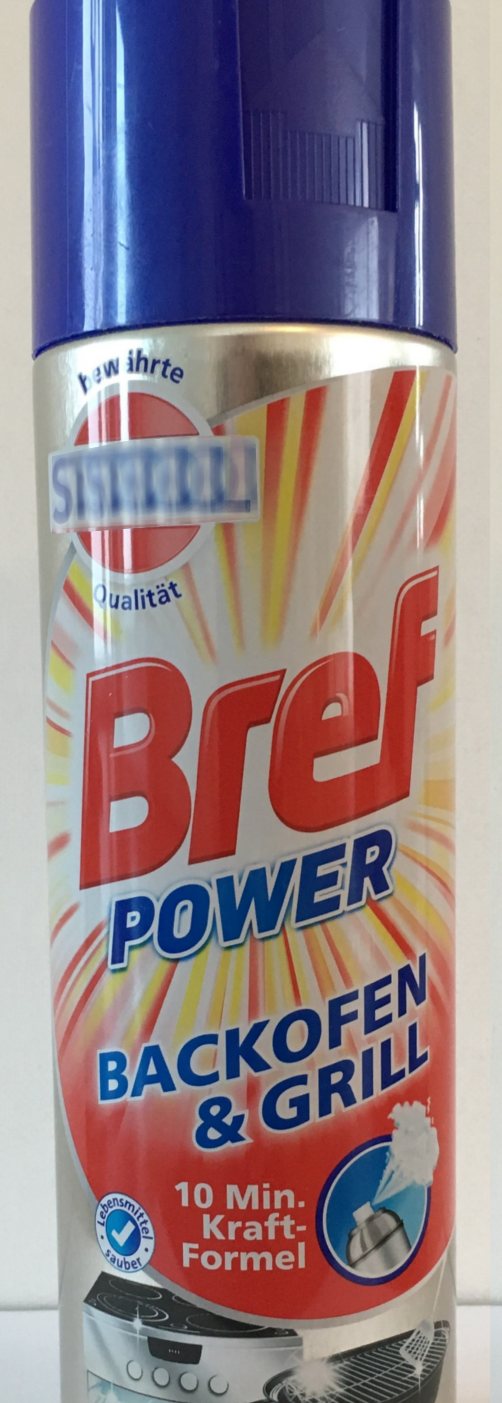
Sometimes baking soda and patience are not enough. When you have inherited a rental oven with years of black crust, or a self-clean model you are afraid to run, a store-bought oven spray is the heavy artillery. These are not gentle cleaners. Most contain sodium hydroxide, also called lye or caustic soda, the same powerful chemical used to clear drains, and it dissolves baked-on grease fast. That power is exactly why it deserves respect and a few firm rules.
The right time to reach for a commercial cleaner is a level-three mess that resisted an overnight baking-soda soak, or a situation where you simply do not have a night to spare. Spray it on, and the caustic foam breaks down the grease chemically in twenty to thirty minutes, no scrubbing marathon required. For a truly disgusting oven, this can be the difference between a one-hour job and a lost weekend. Used correctly, it is a legitimate tool, not a cheat.
Ventilate the Room Before You Spray Anything
Lye fumes are genuinely harsh on your lungs and eyes. Open every window you can, run the kitchen exhaust fan, and if possible set up a box fan blowing the air outward. Do this before you spray, not after you start coughing. If anyone in the home has asthma or a breathing condition, get them out of the space entirely for the duration.
Wear Gloves and Eye Protection Every Time
Caustic cleaner burns skin on contact and can cause real damage if it splashes into an eye. Long rubber gloves and simple safety glasses are not optional theater; they are the gear that keeps a routine chore from becoming an emergency-room visit. Keep the spray off any exterior surfaces too, since it can strip finishes and discolor metal.
Pull the Racks and Protect the Elements
As with self-clean, take the racks out first. Cover or carefully avoid the heating elements and the fan opening, because caustic residue baked onto those parts smokes and stinks the next time you cook. Wipe every trace away with lots of clean water when you are done, going over the interior several times, so no chemical film is left for your next roast to absorb.
How to Clean the Oven Door Glass Until It’s Clear Again
That foggy brown film between you and your food is baked-on grease and oven mist, and it is one of the most satisfying things to fix because the “after” is so obvious. The good news is you already know the method: baking soda. Make the same paste from the deep-clean section, spread it across the inside of the glass, and let it sit for 15 to 30 minutes. The grime softens, and a damp cloth or a plastic scraper takes it right off. Buff it dry and the door goes from cloudy to crystal.
For the outside of the glass and the whole oven front, a simple mix of dish soap and warm water, or a splash of vinegar in water, cuts fingerprints and grease without any harsh chemicals. If your oven has a stainless-steel exterior, wipe with the grain and finish with a dry microfiber cloth, the same careful approach in our guide to cleaning stainless steel appliances, so you do not leave streaks or fine scratches on that brushed finish.
How to Clean Greasy Oven Racks in the Bathtub
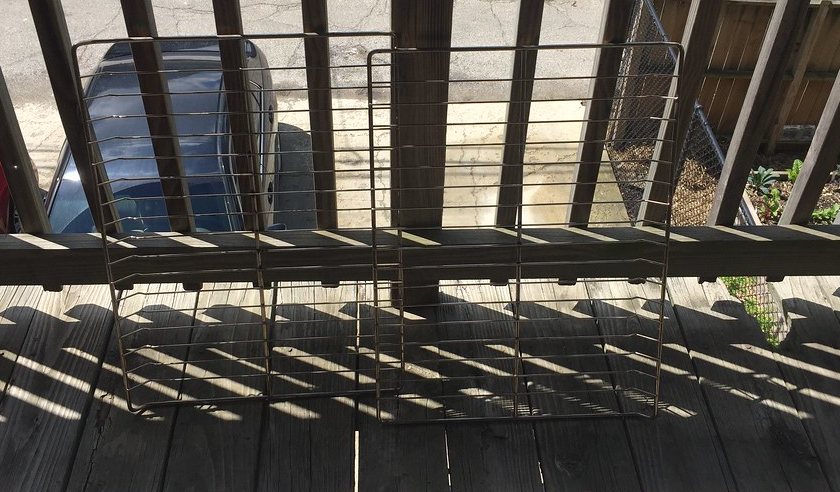
Oven racks are the part everyone dreads, because they are big, awkward, and covered in baked-on grease that laughs at a kitchen sponge. The trick is to stop fighting them by hand and let a long soak do the work. Your bathtub is the perfect size, and an overnight soak turns a brutal scrub into an easy rinse. This is why racks get cleaned outside the oven, not inside it: water and time beat elbow grease every time.
Line the tub with an old towel first so the metal racks do not scratch the enamel. Lay the racks flat, then fill the tub with hot water until they are fully covered. Now add your cleaner. The gentle route is about half a cup of dish soap plus a generous shake of baking soda. The more powerful route, for truly encrusted racks, is half a cup of dishwasher detergent or a cup of white vinegar in the hot water. Either way, let them soak for at least four hours, or overnight for the worst cases.
After the soak, the grease will have softened to the point where a scrub brush or a balled-up piece of aluminum foil sweeps it away with almost no pressure. Rinse the racks thoroughly, dry them completely so they do not rust, and slide them back into your now-clean oven. If you do not have a bathtub, a large storage tote or even a trash bag full of hot soapy water tied around each rack works the same way.
Keep Your Oven From Getting That Bad Again
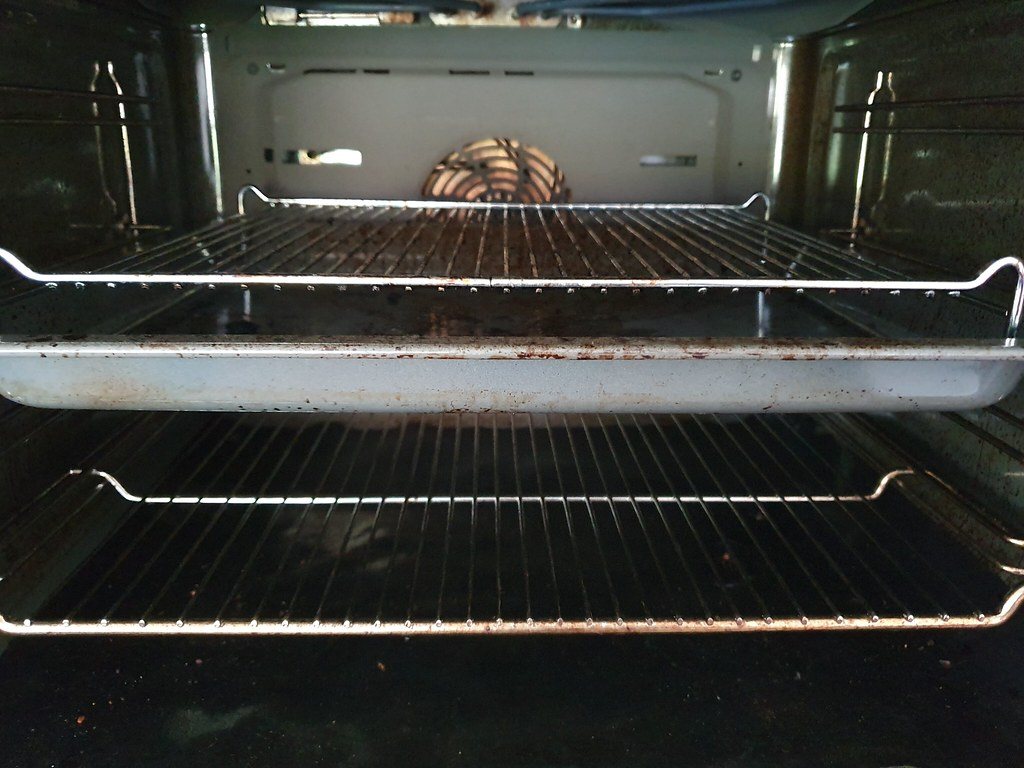
The easiest oven to clean is the one that never got filthy in the first place, and a few small habits keep you out of the deep-clean cycle for good. The biggest one is catching spills before they bake into carbon. When a pie bubbles over or a casserole spits, wipe it up once the oven has cooled rather than letting it cook onto the surface across a dozen future meals. A fresh spill is a ten-second wipe; a month-old baked spill is the crust we spent this whole guide removing.
The smartest prevention tool is a spill catcher. Place a sheet of heavy-duty aluminum foil or a reusable silicone oven liner on the bottom rack, never directly on the oven floor or over the vents, to catch drips before they hit the hot surface. When it gets dirty, you swap or wash the liner instead of scrubbing the oven. Roasting something likely to splatter? Use a slightly larger pan or a rimmed baking sheet underneath to catch the overflow. These tiny moves are the difference between wiping a liner and dreading your oven.
Frequently Asked Questions
What is the fastest way to clean an oven?
For a light-to-moderate mess, the fastest safe route is a commercial oven spray: apply it, wait 20 to 30 minutes while the caustic foam dissolves the grease, then wipe it away with plenty of water, gloves and an open window the whole time. If you would rather avoid chemicals, the baking-soda paste is faster in total effort even though it takes overnight, because the wait is hands-off. The self-clean cycle feels fast but ties up your oven for hours and carries the risk of a blown fuse, so “fast” is not really its advantage.
Is it better to clean an oven with baking soda or a self-clean cycle?
For most people, baking soda wins. It is completely safe, works on every oven, and cannot damage any parts, while the self-clean cycle bakes the oven near 900°F and can blow the thermal fuse or fry the control board. Reserve the self-clean cycle for a sturdy older oven with a genuinely brutal carbonized mess, no pet birds in the home, and good ventilation. When in doubt, the baking-soda paste is the lower-risk choice every time.
How often should I clean my oven?
A quick monthly wipe of the door glass and floor on a cooled oven prevents grime from ever baking on, and it takes about two minutes. A full deep clean is usually only needed every three to six months for an average home cook, or sooner if you notice smoke, smells, or visible baked-on spots. If you use the self-clean cycle, running it just two to four times a year is plenty; doing it monthly wears out the components for no real benefit.
Can you clean an oven with vinegar alone?
Not really, and this is a common myth. Vinegar is a mild acid that helps with light grease and does a great job as a finishing rinse to fizz away leftover baking soda, but on its own it does little against baked-on carbonized crust. It works best as a partner to baking soda, sprayed on at the very end of the paste method, rather than as the main cleaner. For a heavy mess, vinegar alone will leave you disappointed and still scrubbing.
Do I need to remove the oven racks before self-cleaning?
Yes, in almost all cases. The extreme self-clean heat discolors shiny racks to a dull gray and can warp them so they no longer slide smoothly, so most manufacturers tell you to take them out first. Clean the racks separately with a bathtub soak, which is easier and gentler anyway. Check your specific oven’s manual, since a few models are rated to leave certain racks in, but when unsure, pull them out.
Are oven cleaner fumes dangerous to pets?
They can be, especially to birds. Both caustic commercial sprays and the smoke from a self-clean cycle release fumes that are dangerous to pet birds, whose highly efficient respiratory systems make them extremely sensitive; fatal exposure can happen fast. Move birds out of the house entirely, not just to another room, before cleaning. Cats, dogs, and people with asthma should also leave the space, with windows open and the exhaust fan running until the air clears.
Why does my oven smoke when I turn it on after cleaning?
Usually it is leftover cleaner residue or a bit of baking-soda paste that got onto the heating elements and is now burning off. Wipe the interior again with a clean, damp cloth, paying attention to the exposed metal elements, then run the empty oven at 250°F for 15 to 20 minutes with a window open to burn off the last traces. If the smoke keeps happening across several uses, there may still be grease baked into a spot you missed, so a second targeted clean of that area should solve it.
About the Author
Elena Brooks
Elena Brooks is the person her group chat texts when something at home stops working or a health trend starts trending. She’s spent years turning that instinct into a job — digging into the research behind everyday questions, calling the experts, and writing up what holds up and what doesn’t. Her beat is wherever curiosity points: kitchens, cars, pets, sleep, money, and the occasional meteor shower.